Best Green Thumb Guide: How to Germinate Luffa Seeds
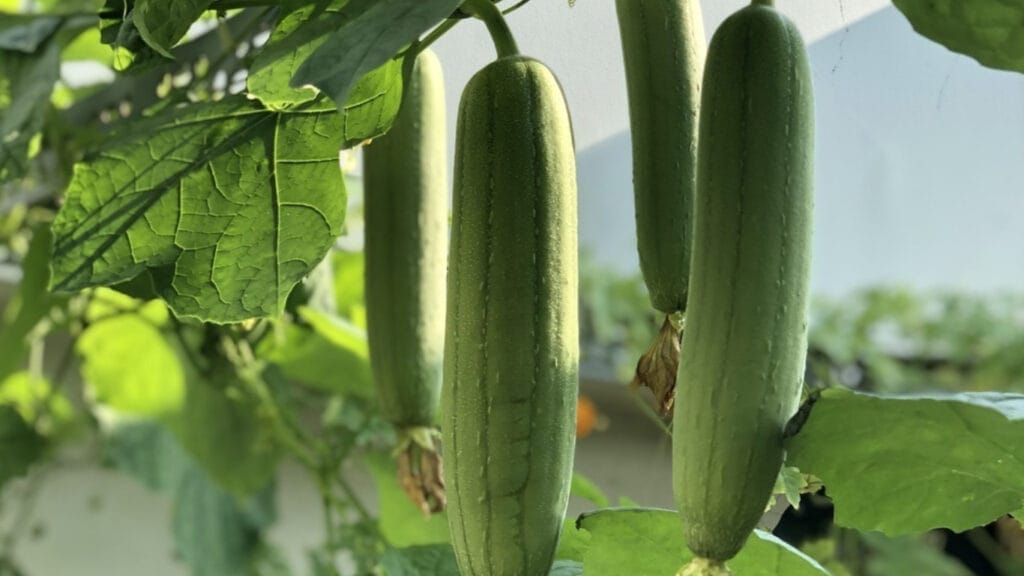
Growing luffa, also known as loofah, can be a rewarding gardening project – especially when you succeed in germinating those tough luffa seeds to grow your very own natural sponges. Germinating luffa seeds requires a bit of patience and attention to detail, but don’t let that deter you.
With the right approach, you can coax these seeds into sprouts that will eventually become the sponges many use for bathing or kitchen scrubbing.

To start, it’s important to understand that luffa seeds have a hard outer shell, making them slightly more challenging to germinate compared to other vegetable seeds. You’ll need to begin by soaking the seeds for 24 hours to soften the tough exterior.
This initial step improves the likelihood of germination by allowing moisture to penetrate the seed coat. After soaking, place your seeds in a warm, well-lit area, as heat is a crucial factor for germination.
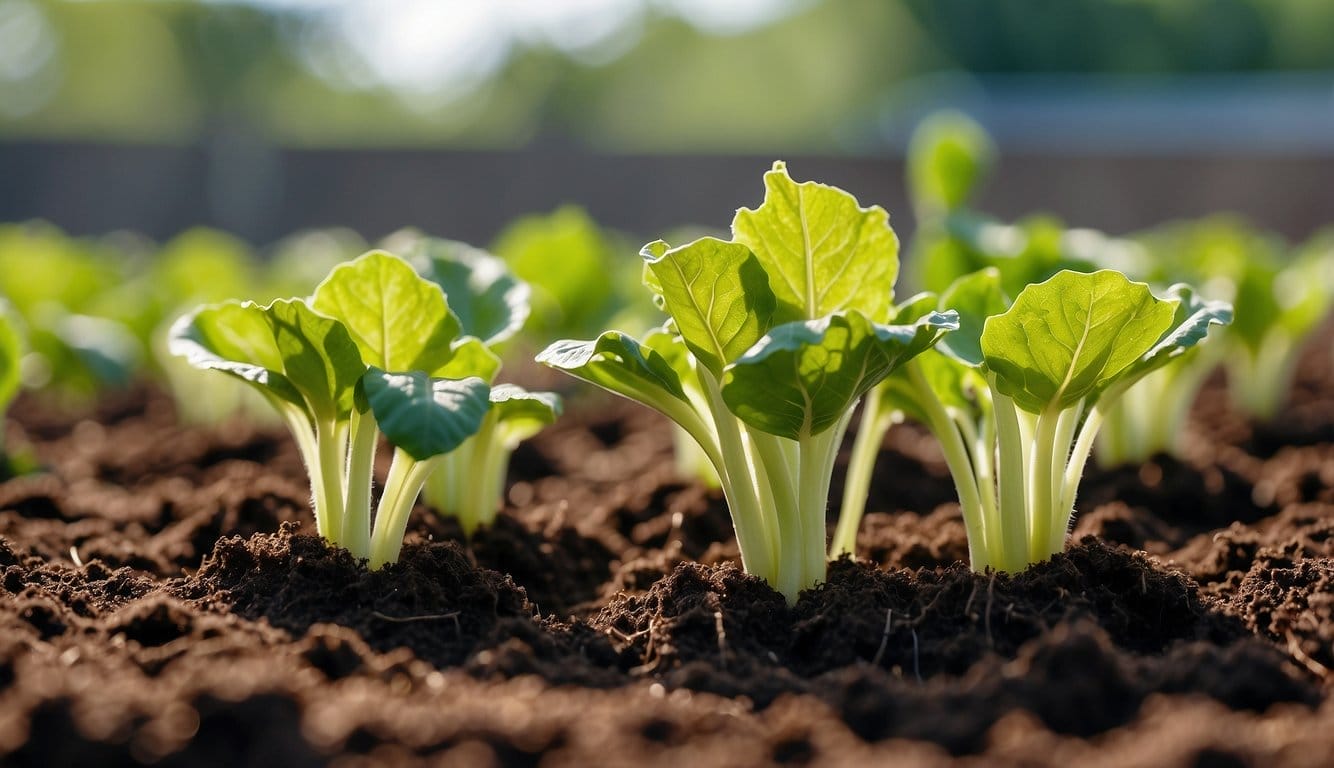
Using a good-quality seed starting mix is essential for providing the seeds with the right environment to germinate. Sow them about a quarter inch deep into moist soil, ensuring they aren’t too crowded to allow for proper growth.
Be patient, as luffa seeds may take a bit longer to germinate – typically around two to three weeks, assuming conditions are adequately warm and moist. With care and attention, you’ll be on your way to growing your very own luffa plants.
Preparing to Plant Luffa Seeds

Starting your luffa plants from seeds is a rewarding process. Proper preparation sets the stage for successful germination and growth.
Selecting the Right Seeds
Before you plant, ensure you have high-quality luffa seeds. Look for seeds that are firm and free from any signs of damage or disease. A trusted seed provider is essential as the quality of your seeds directly impacts germination rates and the health of your future plants.
Soaking Luffa Seeds for Quicker Germination
Soaking luffa seeds in warm water can expedite the germination process. Place the seeds in a bowl and cover them with water for about 24 hours.
This soaking helps soften the seed coat, allowing the sprout to emerge more readily. For optimal results, maintain a warm temperature for the water as luffa seeds prefer warmth to kickstart germination.
Remember that a thorough grasp of seed and seedling biology can provide additional insights into this stage of plant development.
The Planting Process

Successfully germinating luffa seeds begins with the right soil and containers, as well as understanding whether to start your seeds indoors or outdoors based on the climate.
Choosing Soil and Containers for Luffa Seeds
Select containers that will allow your luffa seeds to develop without restraint. Small 5 to 6-inch pots are typically sufficient for this stage of growth.
While choosing pots, ensure they have holes for drainage to prevent waterlogging. The soil should be well-draining and rich in nutrients; you can consider using a soilless seed starting mixture, which is particularly designed to promote the germination of seeds.
Sowing Luffa Seeds Indoors or Outdoors
If your climate is cooler, sowing seeds indoors is advisable as luffas require a long growing season and warm temperatures. Begin by planting 2-3 seeds in moist soil per pot, and provide them with ample sunlight.
Once temperatures consistently warm up, the seedlings can be moved outdoors. If you are starting seeds outdoors, wait until the threat of frost has passed and the soil is warm.
Sow seeds in a prepared garden bed or outdoor containers, placing them about 1 inch deep and spaced 6-8 inches apart. Keep the soil consistently moist to encourage germination.
Caring for Luffa Seedlings

Proper care is crucial as your luffa seedlings begin to grow. Ensuring they receive the right amount of water, light, and nutrients, and are transplanted properly, sets the foundation for healthy adult plants.
Watering and Feeding
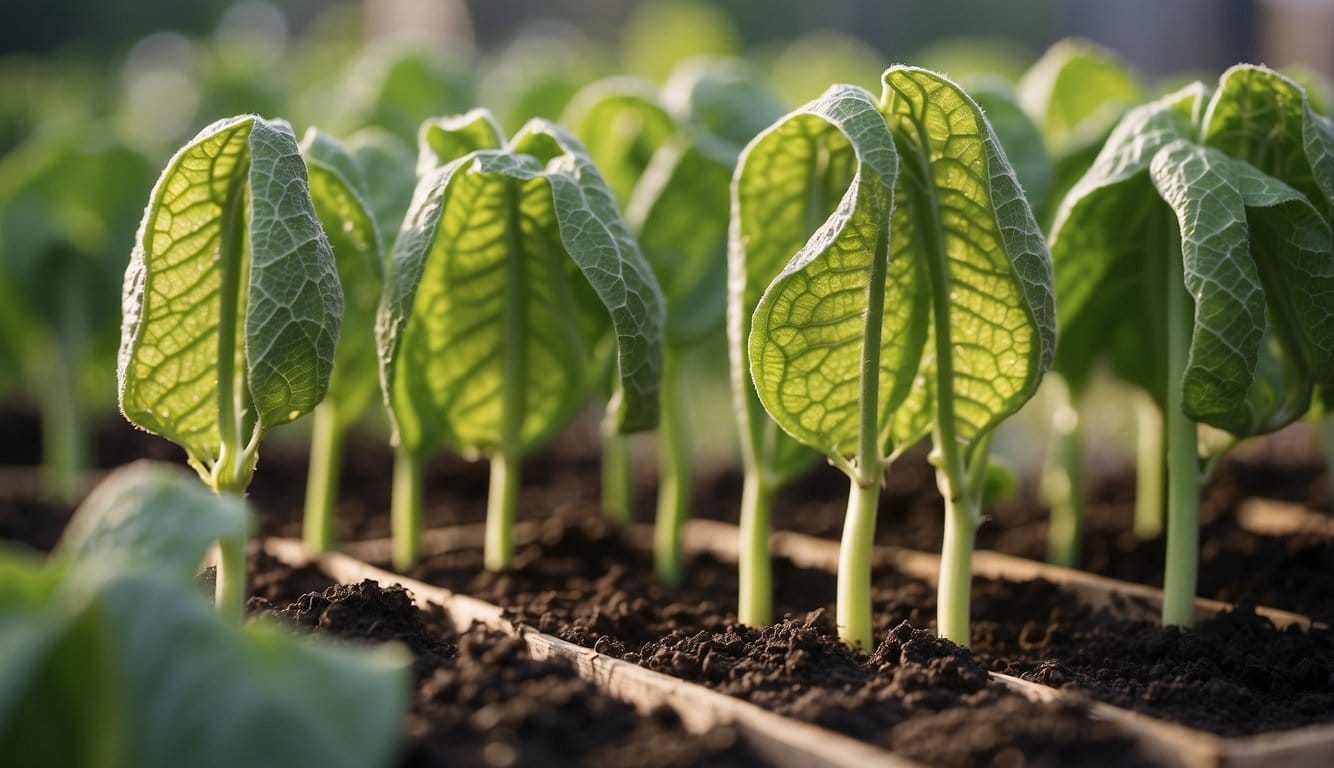
Water your luffa seedlings to keep the soil consistently moist but not waterlogged. Overwatering can lead to root problems, while under-watering can stress the plants.
Once the seedlings have a few true leaves, begin a regular feeding schedule with a balanced, diluted liquid fertilizer every two to three weeks.
Providing Light and Heat
Luffa seedlings thrive in warm temperatures; therefore, maintaining a temperature around 70-90°F (21-32°C) promotes healthy growth. They need at least six hours of full sun daily, so if you’re starting seeds indoors, place them by a south-facing window or use grow lights to simulate full sun.
Transplanting to the Garden
Before transplanting seedlings to your garden, harden them off to acclimate to outdoor conditions. Do this over a week, gradually increasing their time outdoors.
When soil temperatures are consistently warm, transplant them to a location in full sun, ensuring they have plenty of space for growth. Luffa plants do best when they are not crowded, with rows spaced about 6 feet apart.
Supporting and Training Luffa Vines

Luffa vines require sturdy support to thrive and produce well. Planning proper support systems and regular pruning can ensure healthy growth and bountiful harvests.
Using Trellises and Fences
When growing luffa, trellises or fences provide essential support for your vines. Luffa plants are climbers and will adhere to almost any structure. Here’s how to utilize these supports effectively:
- Choose the Right Material: Opt for trellises made from wood or metal that can handle the weight of mature plants.
- Positioning: Place trellises or fences in a sunny location and ensure they are secured firmly in the ground to withstand the weight of the vines as they grow.
Remember to gently guide the young vines towards the trellis or fence and tie them loosely with garden twine to encourage vertical growth.
Pruning for Healthier Growth
Pruning is necessary for maintaining a productive luffa plant. It encourages air circulation and focuses the plant’s energy on producing fruits. Here are some pruning tips:
- Timing: Begin pruning once your luffa plant has several sets of leaves and choose a few robust vines to keep.
- Technique: Use sharp pruning shears to make clean cuts and remove any dead or diseased portions.
Regularly check your luffa plants for new growth and prune as necessary to maintain plant health and maximize fruit production.

Harvesting and Curing Luffa Sponges
After a growing season full of care, your luffas are ready for harvesting. The timing and process are crucial to ensure that your luffa sponges are clean, dry, and useful.
Identifying Mature Luffa Gourds
Your luffa is mature and ready to harvest when the skin turns brown and feels dry to the touch. You might also notice the skin feels looser around the sponge.
This typically happens after about 140 days of warm weather and well past the risk of frost. The luffas should be left on the vine until they are fully matured.
If they feel lightweight and the seeds rattle inside when shaken, they’re ready to be picked.
Peeling and Cleaning the Luffa
Once harvested, it’s time to peel your luffa. Start at the end of the luffa that was not attached to the vine and peel away the outer skin.
It may require a bit of strength as the skin can be tough. Wear gloves to avoid irritation from the luffa’s fibrous texture. After peeling, remove the seeds by shaking and knocking them loose over a container; they can be saved for next season’s planting.
Next, thoroughly rinse the sponge to remove any remaining sap and skin bits. Finally, allow the luffa to completely dry in a well-ventilated area before using it as a sponge. The drying process may take several days depending on the humidity and airflow.

Preventing Common Pests and Diseases
Keeping your luffa plants healthy involves proactive pest management and disease prevention. By taking these steps early on, you’ll ensure your luffa vines remain vigorous and capable of producing those natural sponges we all love.
Organic Pest Control
Pests can be quite a nuisance, especially when you’re expecting a bountiful luffa harvest. Here’s what you can do:
- Introduce beneficial insects: Ladybugs and lacewings are great allies in eating aphids and mites that may attack your luffa plants.
- Use insect traps: Yellow sticky traps can catch whiteflies and other pests.
- Apply neem oil: A natural pesticide, neem oil can help deter pests without harming the plants or beneficial insects.
- Encourage birds: Birds can help reduce pest populations. Consider placing bird feeders or houses to invite them into your garden.
Managing Fungus and Diseases in Luffa
Luffa plants can fall prey to several fungal diseases if not cared for properly. Here’s how to defend against them:
- Maintain proper air circulation: Space plants adequately and use a trellis to minimize fungal issues.
- Water wisely: Overwatering can spell disaster. Water your plants at soil level to keep the leaves dry and prevent powdery mildew.
- Use compost: Apply quality compost to promote healthy soil and plants which are more resistant to diseases.
- Fungicides: As a last resort, you may need to use organic fungicides. Apply them according to the instructions, and only when necessary, to control outbreaks of disease.
Frequently Asked Questions
Germinating luffa seeds is a straightforward process, but even seasoned gardeners have questions about the optimal conditions and techniques. This section aims to answer some of the most common inquiries to help you get your luffa plants off to a great start.
What is the ideal time frame for germinating luffa seeds?
You should start germinating luffa seeds about 4-6 weeks before the last expected frost date in your area. Luffa seeds can take anywhere from one to two weeks to germinate under the right conditions.
What are the best conditions to grow luffa plants successfully?
Luffa plants thrive in full sun with well-draining soil that is kept consistently moist. They prefer a warm climate with temperatures ranging from 70 to 95 degrees Fahrenheit.
Is scarification necessary for luffa seeds before planting?
Yes, scarification can help improve germination rates. Gently roughening the seed’s surface allows water to penetrate more easily, resulting in better germination.
How can you tell if luffa seeds are viable and ready to plant?
Viable luffa seeds are generally firm and heavy. If you’re unsure about seed quality, a simple water test (seeds sinking to the bottom are typically viable) or checking for a hard, intact seed coat can be good indicators of their readiness for planting.
Which climate zones are optimal for growing healthy loofah plants?
Healthy luffa plants are best grown in USDA Climate Zones 6 through 11, which provide adequate warmth and a long enough growing season for the plants to mature.
What techniques can be used to improve luffa seed germination rates?
Using a heat mat to maintain a warm germination environment and keeping the seeds moist are effective techniques. Planting seeds one inch deep and using fresh seeds can also lead to a higher success rate.
You May Also Like:
How to Germinate Scotch Bonnet Seeds: A Simple, Easy Guide

