How to Germinate White Sage Seeds: The Quick Easy Guide
Germinating white sage (Salvia apiana) seeds can be a rewarding experience, especially if you’re interested in creating your own supply for smudging or enjoying the beauty of this sacred plant in your garden.
Known for its preference for warm and sunny conditions, white sage is a hardy plant once established, but it does present some challenges during the germination stage.
Getting your white sage seeds to sprout requires patience and attention to detail, as the seeds have a naturally low germination rate due to their adaptation to their native desert habitats.
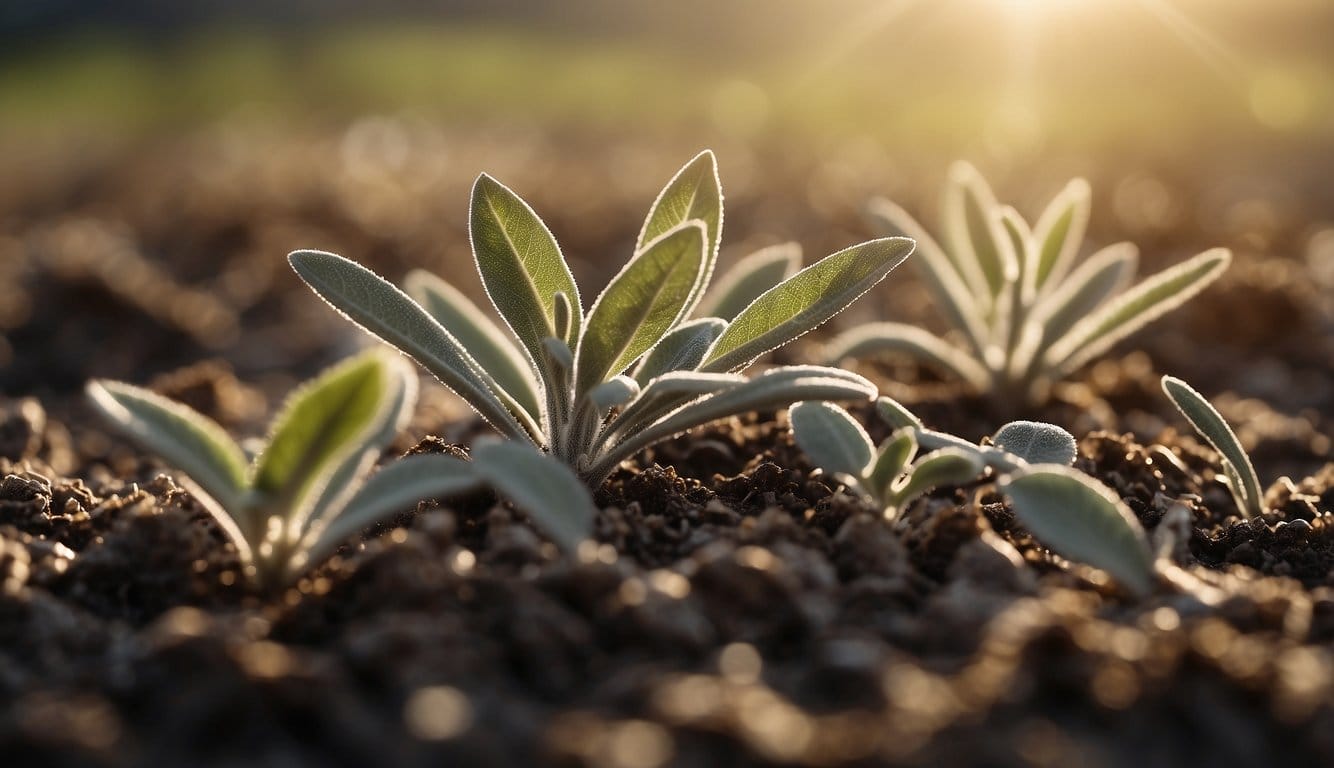
To start your white sage journey, it’s essential to create the right conditions for the seeds to thrive. While white sage can technically grow year-round under the correct conditions, starting your seeds in the spring generally yields the best results.
Begin with a suitable planting container and ensure the soil is well-draining and not too rich, as white sage prospers in soil that mimics its natural, arid environment.
Keep in mind that the seeds may take their time to germinate, as they don’t all sprout at once – a survival strategy in the wild.
Table of Contents
Understanding White Sage
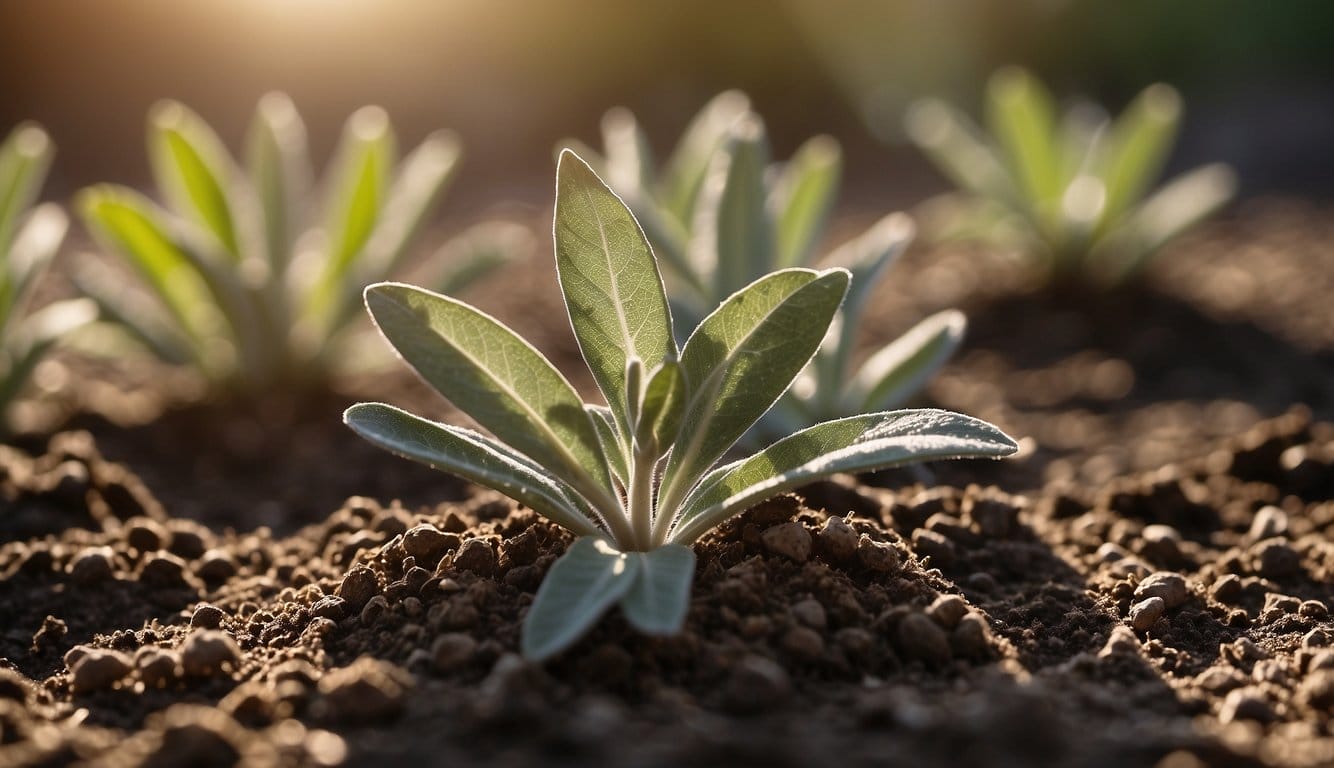
White sage, or Salvia apiana, is an evergreen perennial native to the arid margins of the southwestern United States, primarily in Southern California, and extends into Mexico. Known for its strong aromatic properties and beautiful white to silver-green foliage, you’ll find that this herb is steeply rooted in cultural histories—particularly among Native American communities.
Here’s a quick breakdown of white sage’s qualities:
- Scientific Name: Salvia apiana
- Common Names: White sage, sacred sage, bee sage
- Habitat: Dry slopes and canyons of the coastal sage scrub and chaparral
Native Americans hold white sage in high regard for its purifying and medicinal properties. It is often used in ceremonial contexts, like smudging, to cleanse a space of negative energies. You may come to appreciate it not only for its practical growing attributes but also for its significant cultural role.
The plant thrives in sunny, well-drained situations which mimic its native habitat. It prefers arid conditions and exhibits some drought resistance. Thanks to its attractive appearance and utility, you might enjoy cultivating it in your garden as an herb or a striking landscaping feature.
Below is a summary of conditions favored by white sage:
| Required Condition | Description |
|---|---|
| Sunlight | Full sun exposure is ideal. |
| Soil Type | Prefers well-draining soil. Avoid overwatering. |
| Climate | Best in warm conditions; zones 8-9. |
Remember, as with any plant, familiarizing yourself with white sage’s specific needs will enhance your gardening experience and success in germinating its seeds.
Preparing for Sowing
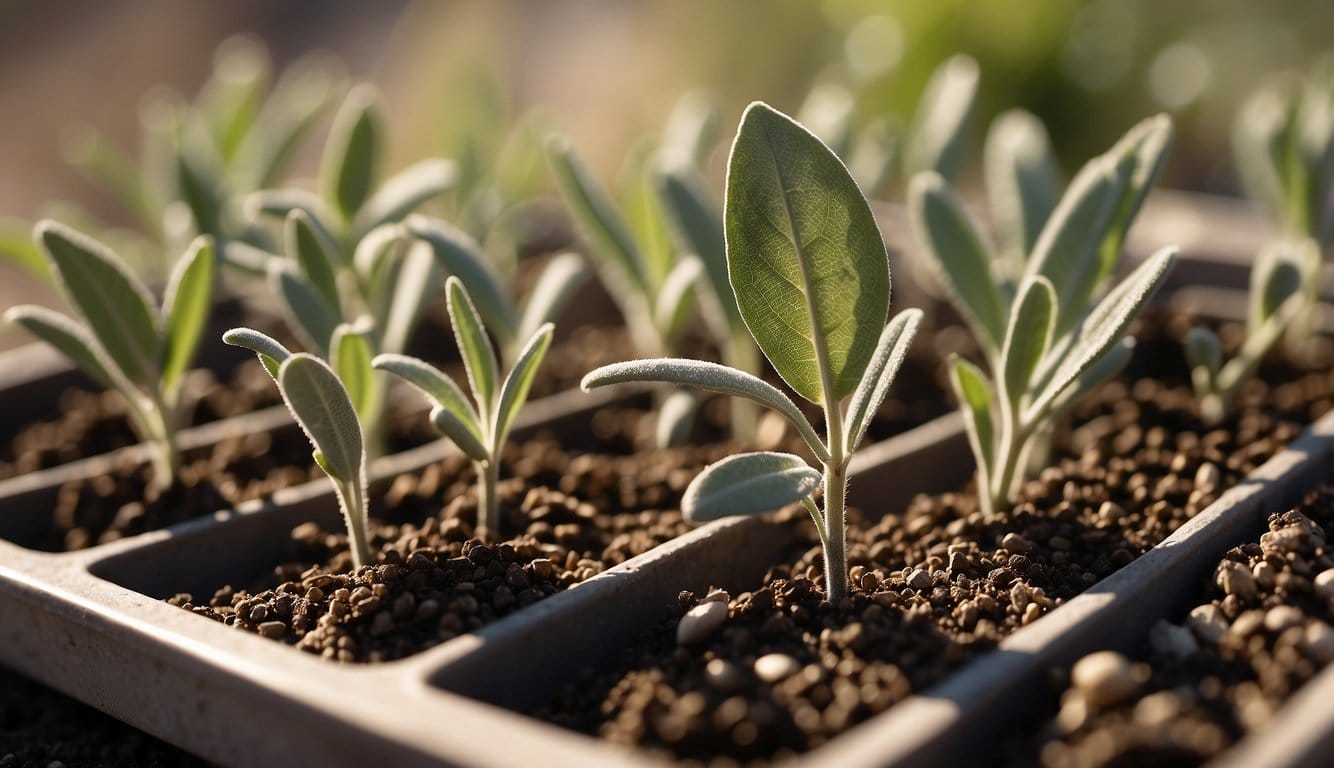
When you’re ready to start your white sage seeds, it’s essential to create an environment conducive to germination. Before sowing, gather your materials and ensure your preparations align with the specific needs of the seeds.
Selecting Soil and Containers:
Begin with a soil mix suitable for white sage, which prefers a well-draining medium. You can learn about germination mediums by checking resources on starting plants from seed. Consider a mix incorporating sandy soil and perlite, which promotes good drainage and aeration.
Optimizing Temperature and Light:
White sage seeds thrive in warmth, so aim to maintain soil and air temperature at 70 – 85°F, which is vital for successful germination. Proper lighting conditions are just as crucial; these seeds need light to germinate.
Place your containers in a bright area or use a grow light but avoid direct sunlight that may be too intense.
Timing for Planting:
Time your seed sowing to coincide with spring, when the danger of frost has passed. However, starting seeds indoors allows you to get a head start. When you’re starting seedlings indoors, make sure they’re kept warm and receive enough light to encourage growth.
Pre-Seeding Steps:
- Amend the Soil: Mix in compost with your soil to enrich it with nutrients.
- Prepare the Containers: Choose shallow trays or pots with proper drainage.
- Scatter the Seeds: Gently press the seeds into the soil’s surface without covering them to allow light to reach them.
By carefully preparing for sowing, you can create a nurturing environment that encourages the delicate white sage seeds to sprout and eventually, flourish.
Germination Process
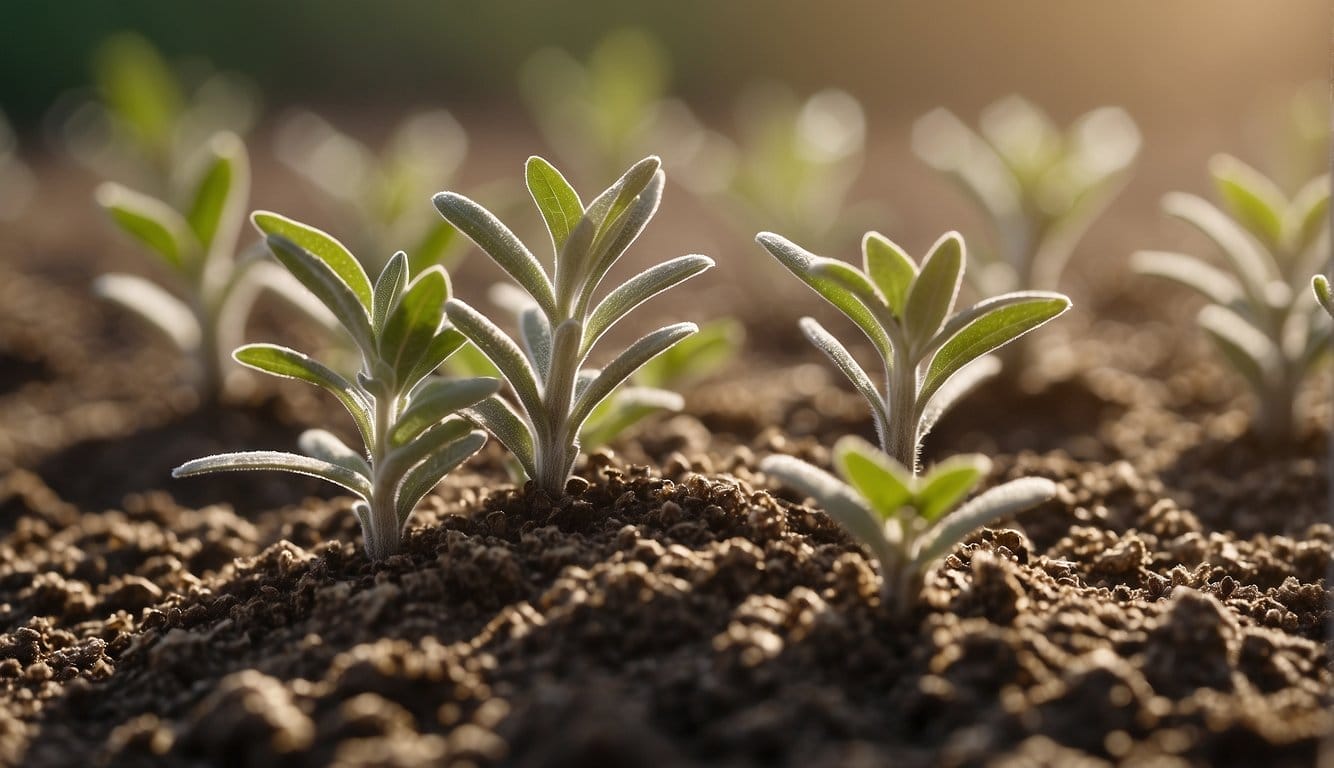
White sage seeds require specific conditions to germinate successfully. Start by ensuring your seeds are fresh, as older seeds have a significantly lower germination rate.
Firstly, prepare a seed starting mix that is well-draining and light. This will provide the optimal environment for sage seeds, which prefer a soil mix that doesn’t retain excessive moisture. It’s vital to keep the soil consistently moist but not waterlogged.
Using a spray bottle to gently mist the soil can prevent overwatering.
Light is another crucial element for white sage seeds. Unlike some seeds that require darkness to germinate, white sage needs ample light. Place your seed trays in a spot where they can receive plenty of indirect sunlight, or use a grow light to ensure they get the light they need without getting scorched.
White sage seeds also require a bit of heat to germinate. Maintaining soil temperature between 70 – 85 degrees Fahrenheit is ideal. You can achieve this by placing your seed trays on a heat mat or in a warm location. Monitoring soil temperature can be a significant factor in improving germination rate, as outlined by experts in soil temperature conditions for vegetable seed germination.
An additional step you might consider is scarification, which involves gently scratching the seed’s coating to improve water absorption and encourage germination. Once your seeds have sprouted, reduce moisture levels slightly to prevent fungal growth, but ensure the young plants do not dry out completely.
Remember, patience is key—white sage seeds can take anywhere from 14 to 28 days to germinate. Once they’ve sprouted, continue providing them with gentle care and watch as they grow into healthy sage plants. For more comprehensive guidance on establishing plants from seeds, you’ll find valuable information about starting plants from seed.
Caring for White Sage Seedlings
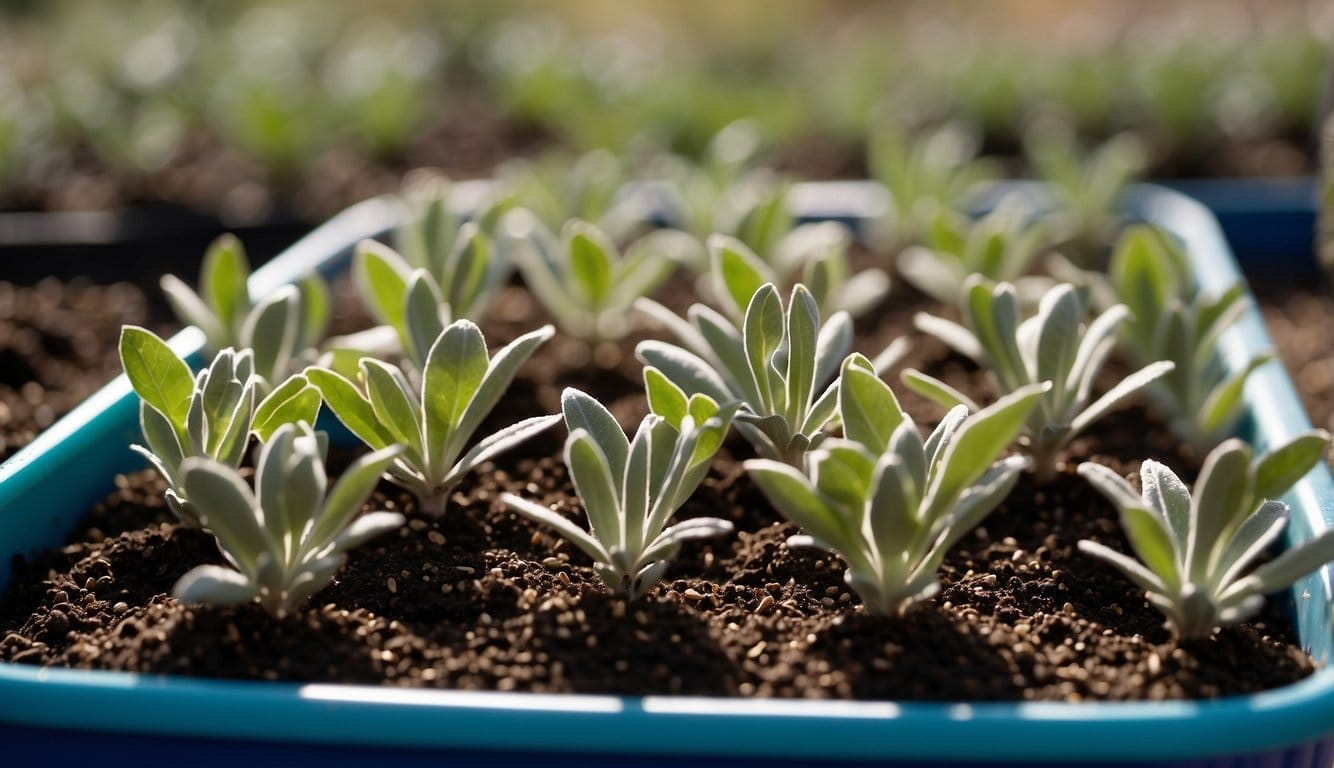
Once your white sage seedlings peek through the soil, it’s essential to maintain regular care to ensure robust growth. Keep these tips in mind to successfully nurture your seedlings:
Watering: Your seedlings need consistent moisture, but it’s crucial to avoid waterlogging. Generously mist the soil when it feels dry to the touch, ensuring the roots stay hydrated but not drenched.
Light: Provide plenty of light for your young plants, ideally through a sunny window or supplemental grow lights. Aim for 6-8 hours of sunlight daily.
Temperature: Maintain a warm environment, ideally between 70-85 degrees Fahrenheit, to support growth and prevent the seedlings from becoming leggy.
Fertilizer: Once seedlings have several sets of true leaves, a light application of a balanced, organic fertilizer can encourage healthy growth. However, use with restraint as white sage prefers less fertile conditions.
Preventing Diseases and Pests: Ensure good air circulation around the seedlings to prevent fungal diseases. Checking regularly for signs of pests and treating with an appropriate organic pesticide or insecticidal soap can help keep your plants healthy.
Transplanting: When your seedlings are strong enough and the threat of frost has passed, it’s time to transplant. Harden them off by gradually exposing them to outdoor conditions over a week before moving them to your garden, spacing the plants 12-18 inches apart.
Table of Considerations for White Sage Seedlings
| Factor | Advice |
|---|---|
| Watering | Mist to keep moist; avoid soggy soil. |
| Light | 6-8 hours of sunlight or grow lights. |
| Temperature | Keep between 70-85°F. |
| Fertilizer | Light, balanced fertilizer at true leaf stage. |
| Pests/Disease | Good air flow; check and treat as needed. |
| Transplanting | Harden off and space 12-18 inches apart in the garden. |
Remember, white sage is more tolerant of dry, less nutrient-rich soil compared to other plants. Paying attention to this natural preference will help your seedlings thrive.
Cultivating a Healthy Sage Garden
Cultivating a healthy sage garden requires attention to detail and the right conditions. Your white sage will thrive in a garden where full sun exposure is available, as this plant loves the warmth and light.
Sunlight and Location:
- Position your sage garden in an area that receives full sun for best growth.
- Ensure the location is well-ventilated to prevent mildew and other issues.
Soil and Water:
- Use well-draining soil to prevent waterlogging, which can be detrimental to your plants.
- Regular watering is crucial, but overwatering should be avoided. White sage prefers soil that is slightly dry between waterings.
Planting Your Sage: When it comes to planting white sage:
- Sow: Start with scattering seeds in starter trays or pots.
- Mist: Gently mist the seeds to avoid disturbing them.
- Temperature: Keep the planting environment within 70-85°F to encourage germination.
Spacing and Rows:
- When transplanting outdoors, maintain a spacing of 12-18 inches between plants.
- This spacing allows each plant to have ample space to mature.
Mulching:
- Mulch can be applied around the plants to retain moisture, regulate soil temperature, and reduce weed growth. However, don’t let the mulch touch the plant stems to prevent rot.
By following these guidelines, you set the stage for a flourishing garden that can support healthy white sage plants for years to come.
Harvesting and Usage
When you decide it’s time to harvest your white sage, aim for a dry day after the dew has evaporated. Gently clip the leaves and flowering tops of your white sage plant since these contain the oils and essence you’ll be using. Here’s a simple guide:
- Harvest: Cut the sage stems, leaving several inches of growth so the plant can continue to thrive.
- Leaves: Use fresh for immediate purposes or dry them for longer-term storage.
- Flowers: They can be picked and dried for various uses, including seed collection.
If drying your sage, tie the stems in small bundles and hang them upside down in a cool, dry place out of direct sunlight. Once dried, you can store the leaves and flowers in an airtight container.
For smudging, which is a traditional way to purify and cleanse the air of any negative energies, you’ll use the dried sage bundles. Light the end of a sage bundle and allow it to smolder, emitting smoke that you can waft gently through your space with a feather or fan.
If you’re interested in the healing aspects of white sage, the plant has been used to soothe congestion and other respiratory issues. You can create a white sage tea with the leaves, or inhale sage steam to help clear your breathing passages.
Finally, to extract oil from your white sage, consider steam distillation or purchasing a ready-made essential oil for use in aromatherapy, which can contribute to a sense of calm and well-being.
Frequently Asked Questions
When starting your white sage seeds, there are some nuances to ensure they germinate successfully. Below you’ll find common questions and straightforward answers to guide your green thumb.
What is the best method to start white sage seeds for successful germination?
For the best germination results, mix perlite, medium-grained sand, and seed starting compost in equal parts. Sow your white sage seeds 1/4 inch deep in individual containers and keep at a temperature of 65-70°F (18-21°C).
Is it necessary to soak white sage seeds prior to planting them?
Soaking is not typically required for white sage seeds. However, lightly scarifying the seeds by rubbing them with fine-grit sandpaper can enhance water absorption and improve germination rates.
Can white sage be effectively grown indoors, and if so, how?
Yes, white sage can be grown indoors. Start the seeds in a well-draining soil mix and provide them with strong, indirect light. Keep the air and soil temperature around 70 – 85°F for optimal growth.
What are the optimal growing conditions for white sage in outdoor pots?
When growing in pots outdoors, ensure the soil is well-draining and white sage plants have full sun exposure. Keep the soil moist but not waterlogged and space the plants 12-18 inches apart allowing for good air circulation.
How should white sage be harvested for use in smudging rituals?
Harvest white sage by cutting the top 4-6 inches of the plant, ideally just above a leaf node with newly forming leaves. This promotes further growth and ensures sustainability of your sage plant.
Does white sage require a dark environment to germinate properly?
No, white sage seeds need light to germinate. Therefore, only cover them with a very thin layer of soil or simply press them into the surface so that light can reach the seeds.
You May Also Like:
How to Germinate Wisteria Seeds: A Quick Start Guide
How to Germinate Wisteria Seeds: A Quick Start Guide
Garden Stars: Quick Guide On How to Germinate Star Apple Seeds
Germination Genius: How to Germinate Ponderosa Pine Seeds with These Easy Tips
