How to Germinate Wisteria Seeds: A Quick Start Guide
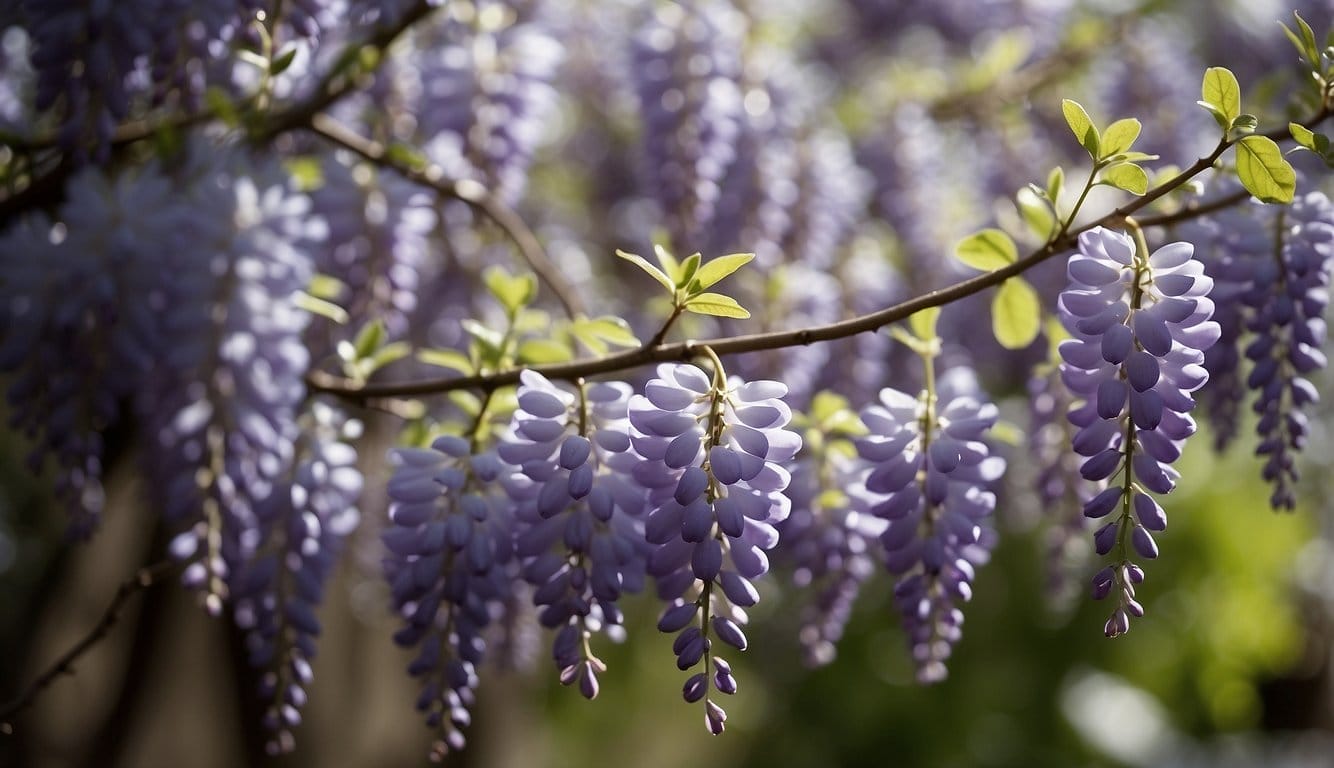
Germinating wisteria seeds can be an exciting project for those who appreciate the beauty of these cascading blooms. Wisteria, a plant known for its stunning, fragrant flowers and vigorous growth, can indeed be grown from seed, although it requires patience and attention.
By starting wisteria seeds, you can cultivate your own vine and eventually enjoy its spectacular floral display.

To start, you need to know the right conditions that wisteria seeds need to germinate. Like many plants, these seeds require a period of warmth and consistent moisture to awaken from dormancy.
Providing a stable environment with temperatures around 70-80°F helps jumpstart the germination process. It’s important to maintain the soil moisture without letting it become waterlogged to encourage the seeds to sprout.
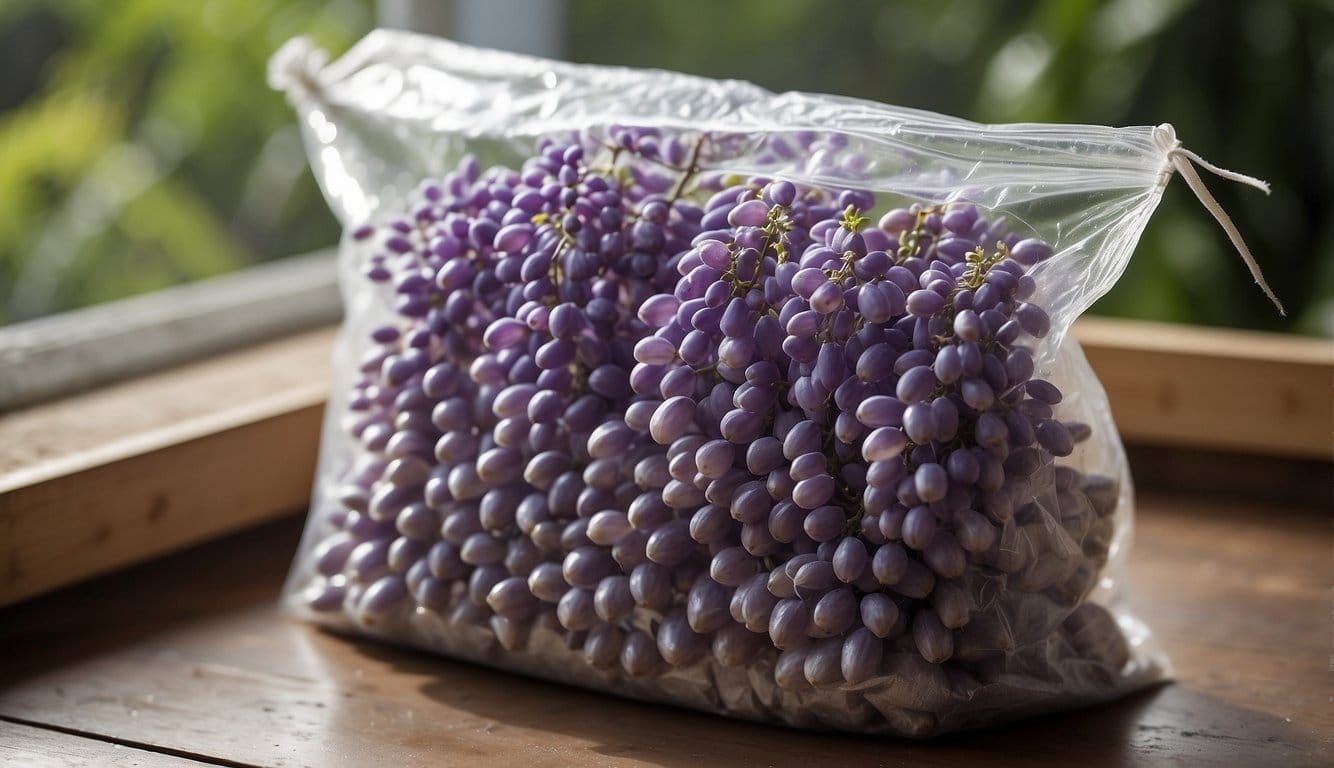
Before planting, it’s advantageous to soak the seeds in warm water for 24 hours. This soaking helps to soften the hard outer coating of the seed, making it easier for the sprout to emerge.
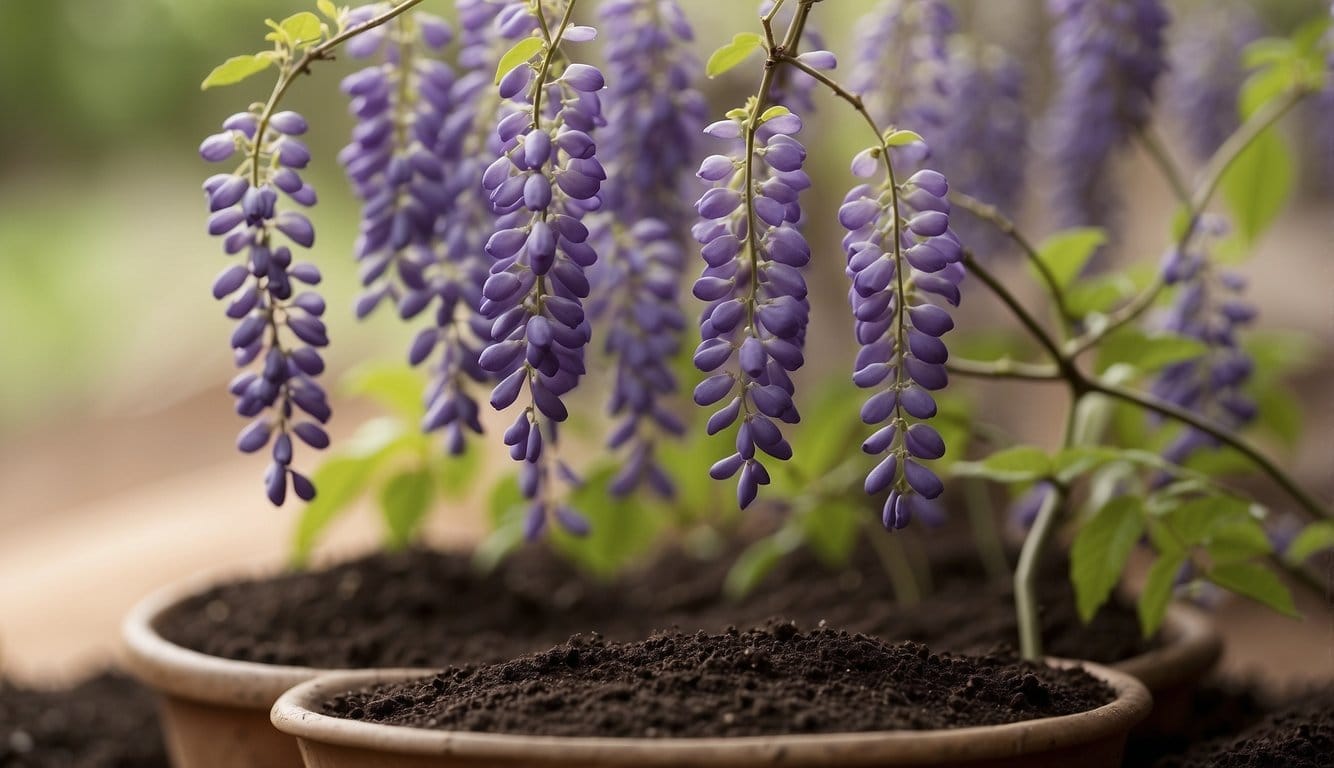
After the soaking period, you’ll plant the seeds in soil, ideally placing them on their sides. A light covering of soil ensures they’re not too deep to reach the surface once they start to germinate.
With the right care and a bit of time, you’ll be on your way to growing your very own wisteria.
Preparing Wisteria Seeds for Sowing

Before planting, wisteria seeds require specific preparation to enhance germination rates. This involves soaking them in warm water and physically scarifying the seed pods to encourage sprouting.
Soaking Seeds in Warm Water
Soak your wisteria seeds in warm water for 24 hours. This softens the hard outer shell, making it easier for the seed to absorb moisture and germinate.
Ensure the water is not too hot to avoid damaging the seeds. Warm, moist conditions help trigger the germination process.
Scarifying Seed Pods
The seed pods of wisteria have a protective coating that needs to be breached to improve germination rate. You can scarify the pods by gently nicking them with a file or making a small cut.
Be careful not to damage the seed inside. This method physically weakens the seed coat, allowing water to penetrate and the seed to eventually sprout.
For more detailed guidance on these techniques, learn about germinating seeds.
By following these steps of soaking and scarifying, your wisteria seeds will be well-prepared for sowing and on the right path to successful germination.
Planting Your Wisteria Seeds
Ensuring successful wisteria seed germination begins with proper soil preparation and the correct sowing technique.

Choosing the Right Soil Mix
Your choice of soil mix is crucial for the germination of wisteria seeds. The soil should be a well-draining potting mix, enriched with organic matter like peat moss and perlite to promote aeration and moisture retention.
A soilless seed starting mixture can also be an excellent choice for its sterility and better moisture management properties. Selecting the right soilless seed starting mixtures is essential to provide your seeds with the best environment to grow.
Sowing Seeds in Starter Pots
Start by filling your container, which should have a drainage hole, with the chosen potting soil. Moisten the soil before sowing to ensure it is evenly damp but not waterlogged.
For sowing wisteria seeds, place 1-2 seeds per starter pot on the soil surface. It is important to bury the seeds ¼ inch deep, providing them with just enough cover for darkness without obstructing growth.
Containers play an influential role in seedling development, and using appropriate containers is vital. After covering the seeds, press the soil down gently to establish contact between the seeds and the soil, and water the area with a mist sprayer to avoid disturbing the seeds.
Proper watering is key while waiting for germination, ensuring the medium stays moist but is not overly saturated. When it is time to transplant, be gentle and careful not to damage the delicate roots.
Caring for Germinating Seeds

Successful germination of wisteria seeds requires careful attention to both moisture and temperature. It is imperative to protect the delicate sprouts from conditions that can lead to rot and pests, ensuring they have the best start in life.
Maintaining Moisture and Temperature
After sowing, it’s essential to keep wisteria seeds moist. Cover the pots with plastic to retain moisture, but not so much that water condenses heavily under the plastic, as this can lead to fungal diseases.
You should aim to maintain a soil temperature conducive to seed germination, typically between 65-75°F (18-24°C). This range can significantly increase the rate and uniformity of sprouting.
To learn about the importance of soil temperature, consider reading about soil temperature conditions for optimal germination.
- Daily Checklist for Seed Care:
- Check that soil is consistently moist, not waterlogged.
- Monitor temperature daily to keep within the ideal range.
- Examine under plastic for excessive moisture and adjust accordingly.
Protecting Seeds from Rot and Pests
Rot can easily affect germinating seeds if the environment is too damp. Allow air circulation by occasionally opening the plastic cover, and if necessary, a gentle fungicide can be applied according to package instructions.
Pests can also be problematic, as they are attracted to the tender sprouts. Check regularly for any signs of insect activity and remove pests manually or use an appropriate, gentle pesticide.
- Protection Strategies:
- Use a light covering of plastic to prevent excess moisture.
- Introduce air flow to deter fungal growth.
- Apply a fungicide carefully if there are signs of fungal problems.
- Inspect for pests often and act swiftly to remove them.
To enhance your understanding of plant growth and the ecological systems in place that support this delicate phase, exploring the biology of seed and seedling can be invaluable. With the right care and vigilance during the germination of your wisteria seeds, you’ll foster healthy development and set the stage for flowering vines in the future.
Navigating the Growth Stages

As your wisteria seeds begin to sprout, it’s essential to understand the progression from seedlings to fully mature, blooming vines, and how to guide their growth with proper pruning and training.
From Seedlings to Mature Wisteria
Once your wisteria seedlings develop their first sets of true leaves, it’s a sign they’re ready for the next stage. During this period, pay close attention to the growth of roots and ensure they have enough room to expand.
You’ll eventually need to transplant your wisteria to accommodate its rapid growth.
For optimal growth, consider the following:
- Light: Ensure they receive plenty of sunlight.
- Spacing: Plant wisteria at least 10 to 15 feet apart to prevent overcrowding.
- Support: Wisteria vines are climbing plants that require sturdy structures like arbors or walls.
Remember, it can take a few years for wisteria to bloom after planting. Patience is key during these early stages as the plant establishes itself.
Pruning and Training Your Wisteria
Pruning is crucial to manage the growth of your wisteria vine and encourage flowering. Begin pruning in the late winter to prepare for spring growth.
Further shape your wisteria during summer after the blooms have faded.
Here’s a basic pruning schedule to follow:
- Late Winter: Cut back last year’s growth to 2-3 buds per shoot.
- Summer: After bloom, prune new shoots back to maintain shape and size.
By training wisteria when it’s young, you guide it to grow over arbors, walls, or other structures without causing damage. Training involves:
- Tying up young vines: Secure them to their support to encourage vertical growth.
- Regular check-ups: Adjust ties and prune as necessary to control the direction of growth.
Effective training encourages a mature wisteria to climb and not intervene with the surrounding buildings while establishing a strong framework for future blooms.

Understanding Wisteria Varieties
When you’re looking to germinate wisteria seeds, it’s key to know which variety you’re working with. Each species has its own set of characteristics.
- Chinese Wisteria (Wisteria sinensis): This is a popular variety, known for its ability to climb clockwise. Its flower clusters are typically more compact, around 9-12 inches long, with a range of colors that include purple and blue.Growth PatternFlowering TimeInvasivenessClockwise twiningBefore leaves appearCan be invasive in some areas
- Japanese Wisteria (Wisteria floribunda): Unlike Chinese wisteria, this species twines counterclockwise. The flower clusters are noticeably longer, sometimes reaching over 18 inches in length.Growth PatternFlowering TimeUnique TraitsCounterclockwise twiningAs leaves developLonger flower clusters
Japanese and Chinese wisteria are often preferred for ornamental purposes but can be invasive. They are known to displace native plants in North America.
Therefore, it’s important to manage them responsibly and consider local regulations regarding invasive species.
As for cultivars, there are many to choose from, each offering various flower colors and bloom times. When you’re selecting seeds, look for cultivars rather than just species to ensure you’re getting the desired characteristics.
Remember, if you’re aiming for quicker blooms, you might prefer to start with a grafted plant, since seed-grown wisteria can take many years to flower—sometimes up to 20, while grafted plants might bloom within just a couple of years.

Frequently Asked Questions
Wisteria seeds require specific steps for successful germination, including scarification and stratification. This FAQ section addresses common inquiries to guide you through the process.
What are the steps to germinate Wisteria seeds successfully?
To germinate Wisteria seeds, first, soak them in hot water around 160-180°F (70-82°C) to soften the seed coat. After soaking them for 10-15 minutes, rinse with cool water. Plant the seeds half an inch deep in moist, fertile soil, and place the pot in a warm, sunny location.
How long should I expect Wisteria seeds to take before they germinate?
Wisteria seeds typically germinate within 2-3 weeks if they have been properly treated and sowed in favorable conditions.
Can you explain the process of cold stratification for Wisteria seeds?
Cold stratification replicates winter conditions to break seed dormancy. You can mix Wisteria seeds with moist sand and store them in a refrigerator at approximately 40°F (4°C) for about two months before planting.
Is it difficult to grow Wisteria from seeds compared to other methods?
Growing Wisteria from seed can be more challenging than propagation methods like cuttings or grafting because seedlings may take several years to flower, can vary from parent plants and require more time to establish.
What is the right time to remove seed pods from Wisteria plants?
Collect Wisteria seed pods in the fall, once they turn brown and dry. Carefully remove the pods from the plant to avoid scattering seeds if you wish to control self-seeding.
Are there any special characteristics of Wisteria seed pods to be aware of?
Wisteria seed pods are toxic; do not ingest any part of them. American Wisteria has smooth seed pods, while Asian varieties tend to have fuzzy or velvety textures. Always handle with care to prevent accidental ingestion by children or animals.
You May Also Like:
How to Germinate Soursop Seeds: The Secret To Successful Sprouts!
Gardening Gold: How to Germinate Ranunculus Seeds for a Riot of Color!
Germination Genius: How to Germinate Ponderosa Pine Seeds with These Easy Tips

